Our Lightroom Presets And Photography Process
Please note this post may contain affiliate links. If you choose to purchase through these links, we may receive a small commission at no extra cost to you. By using these links you are directly supporting Two Wander to continue providing content to stoke your curiosity for conscious wandering + holistic well-being. Thank you!
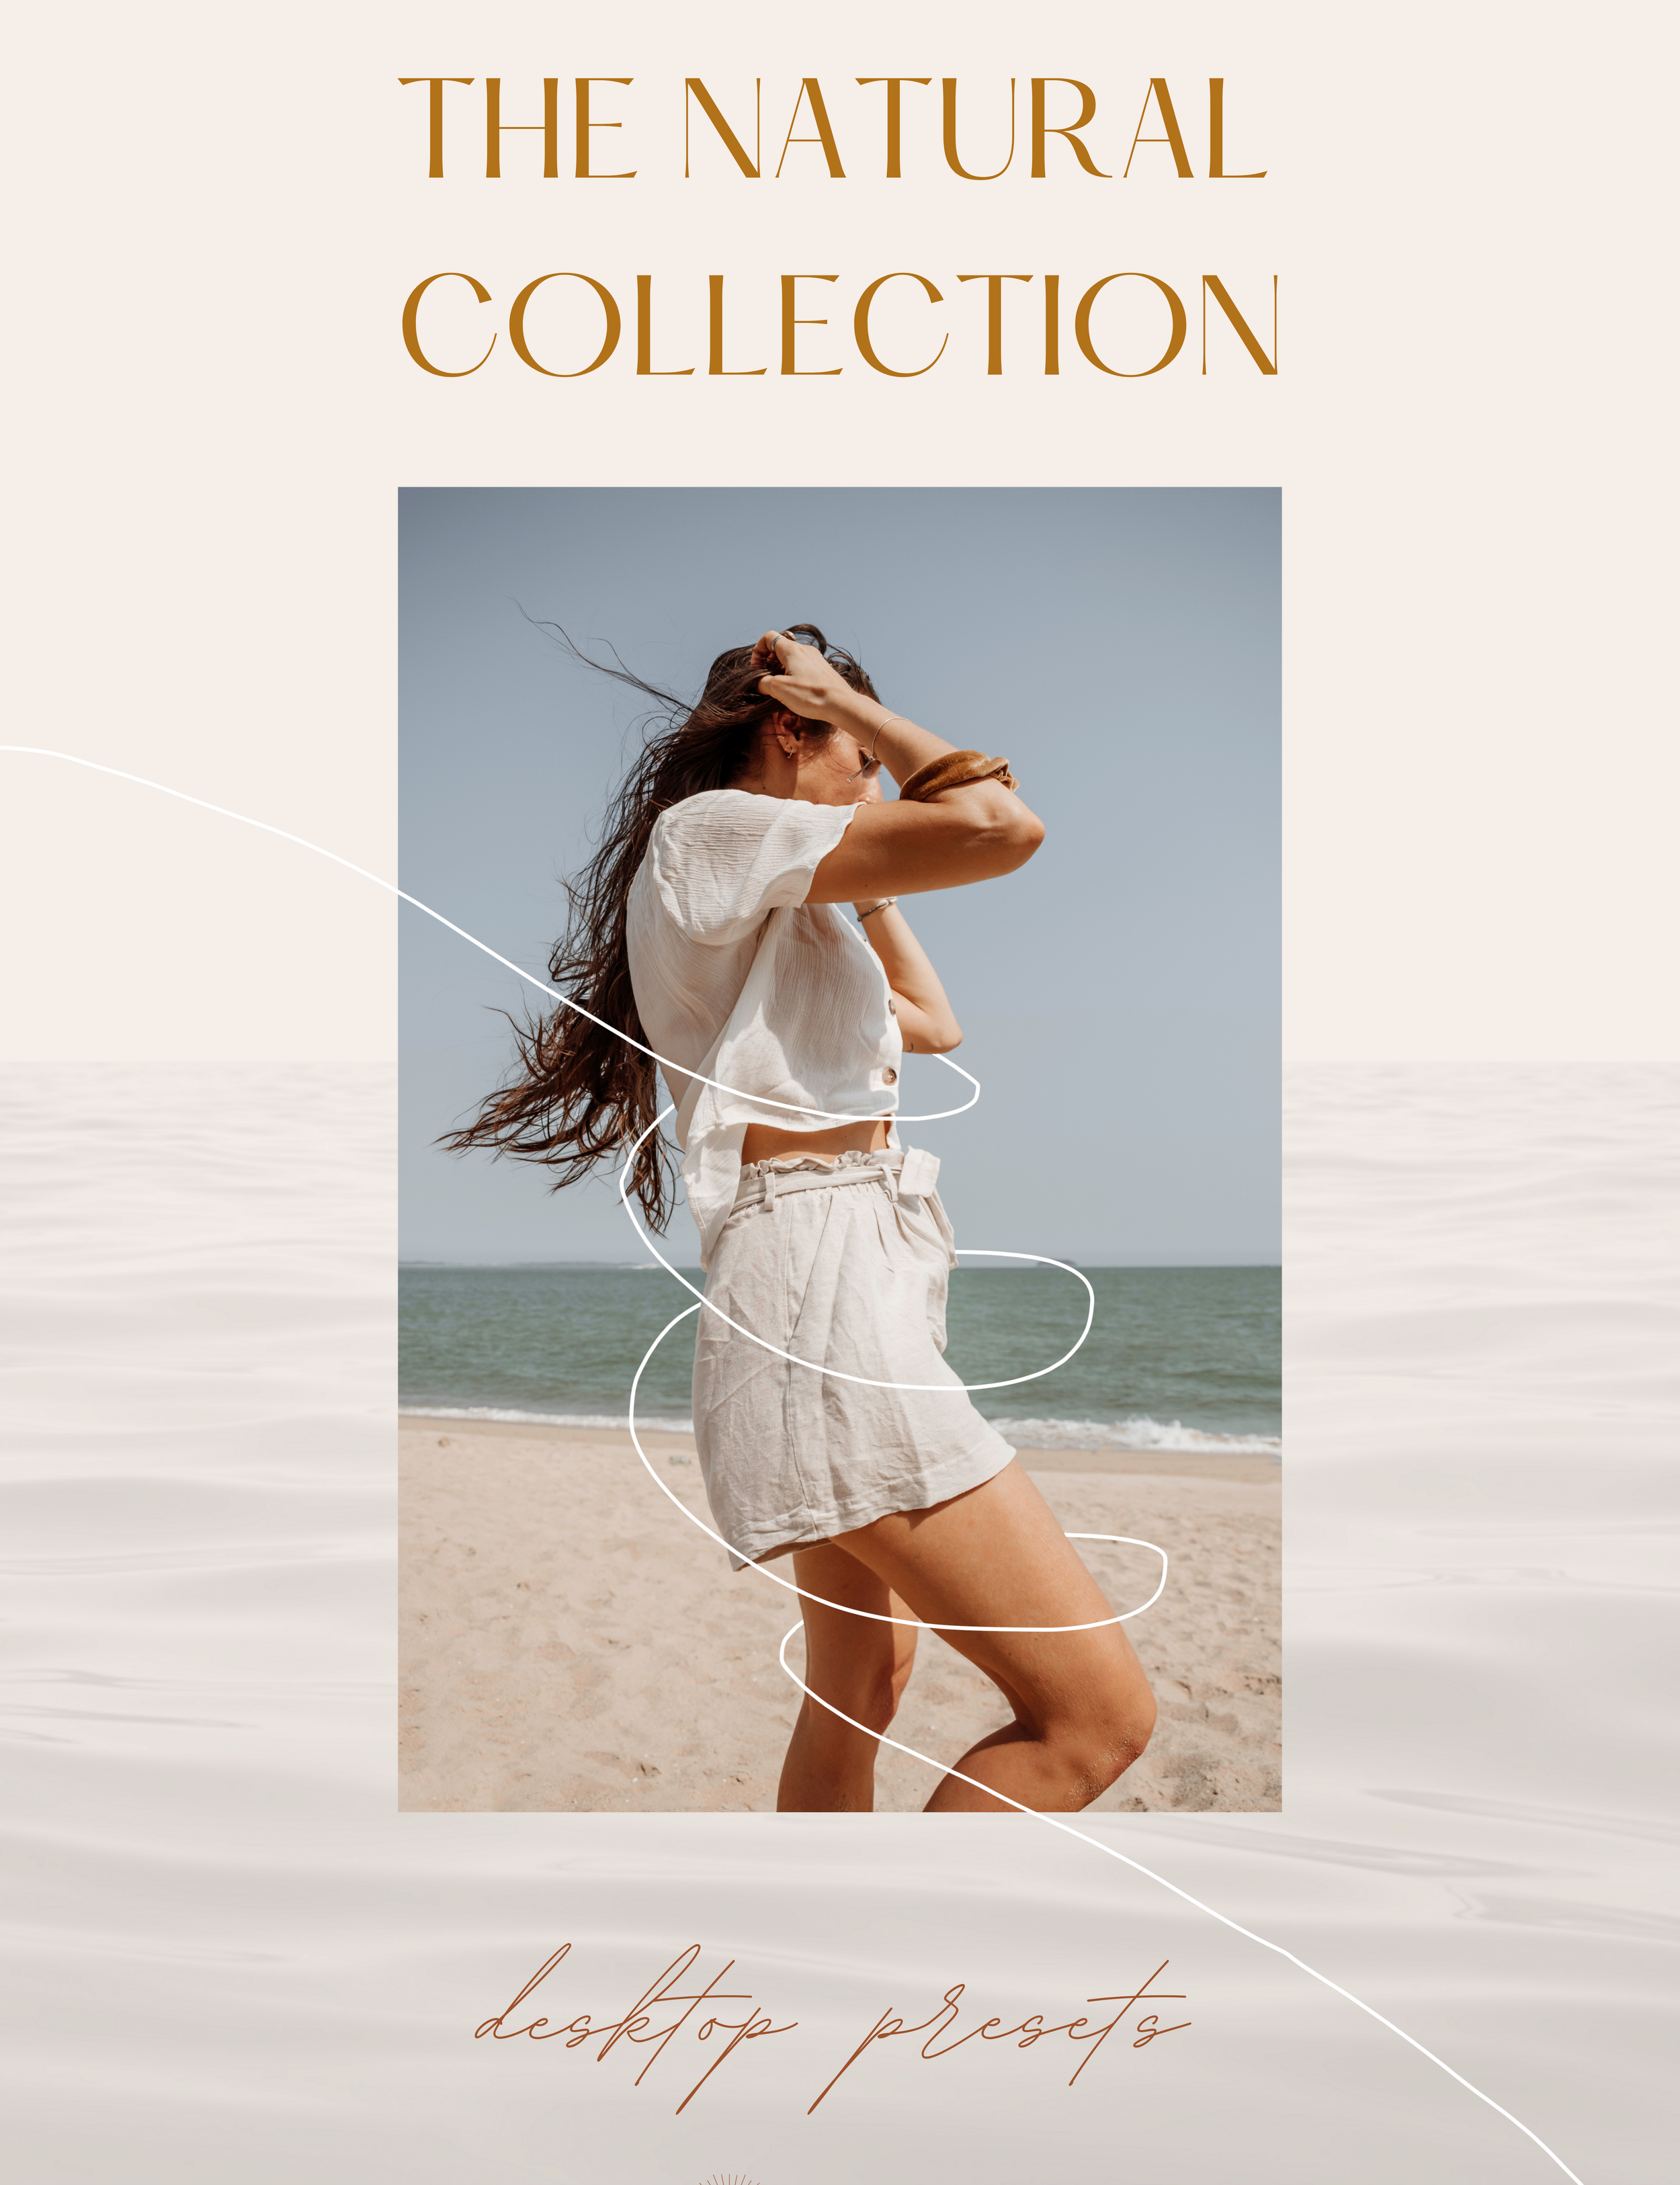
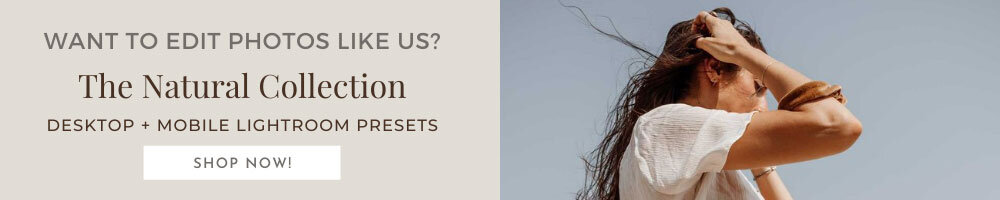
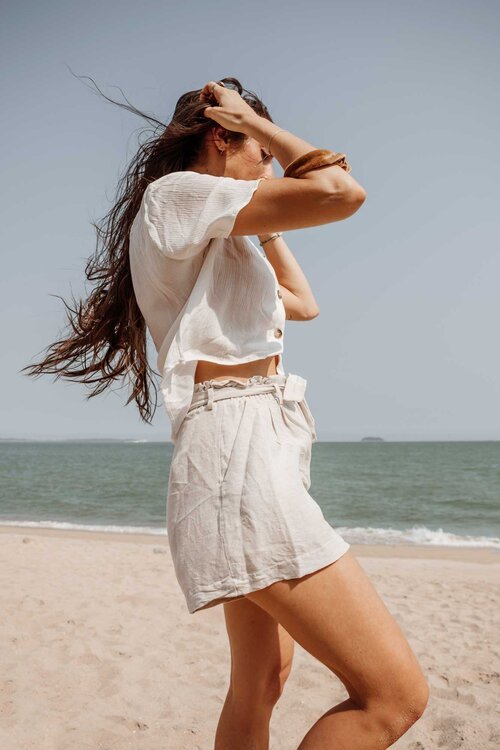
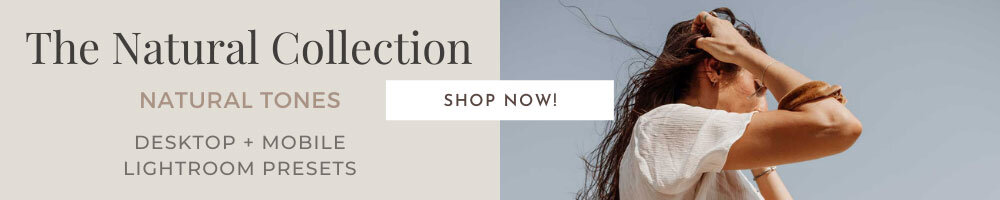
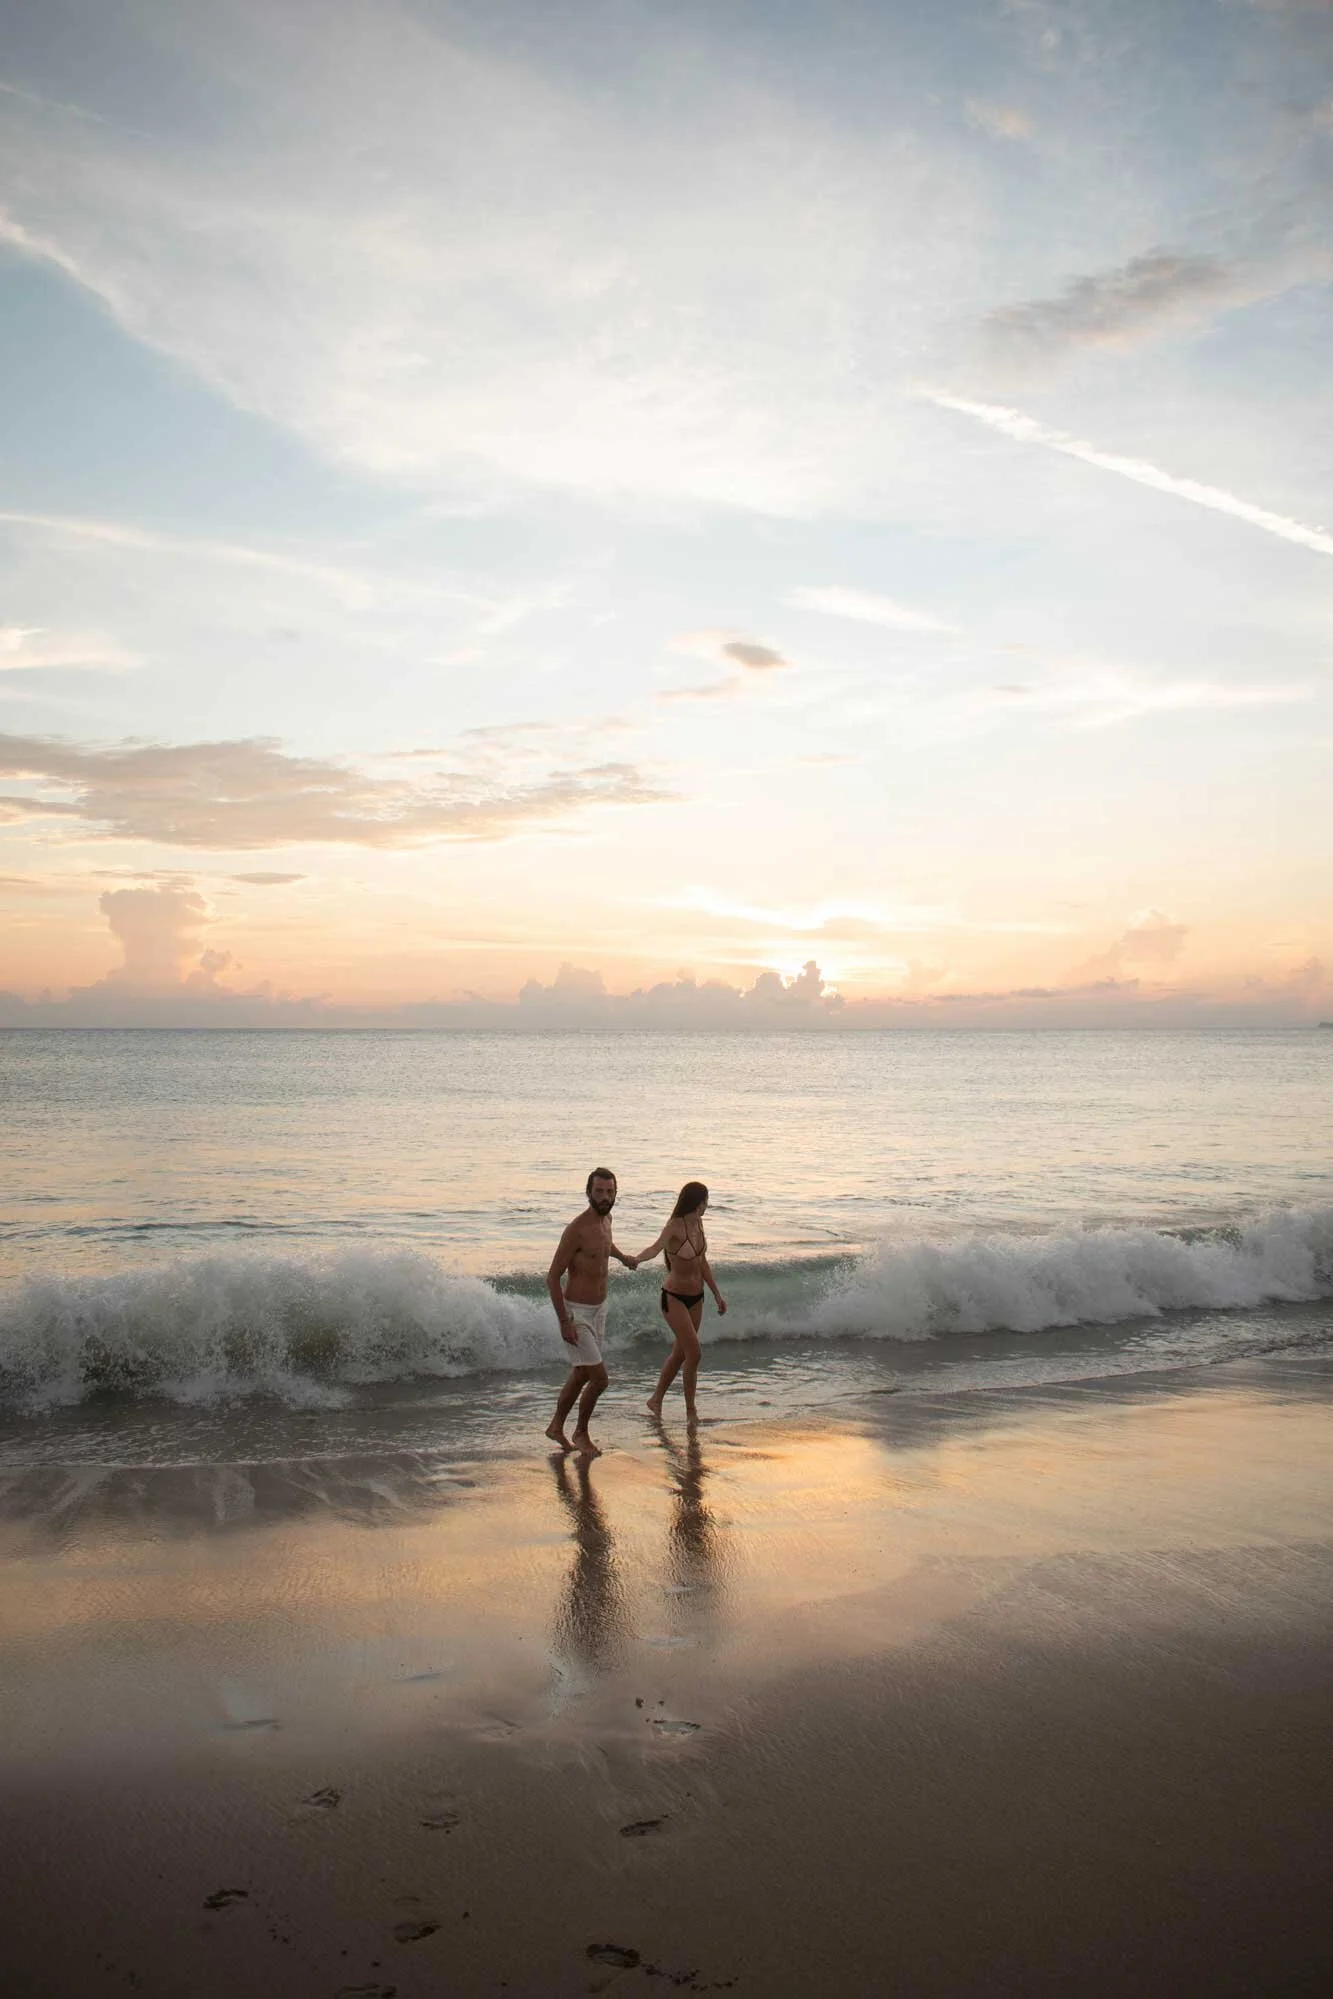
Two Wander Lightroom Presets
We are so excited to announce the arrival of The Natural Collection - Two Wander Presets that are now LIVE in our store!
It took us the last two years to create and refine this collection so that we could develop presets that we not only truly love but are confident will bring your stories and memories to life and showcase their true potential while still maintaining a pure and natural feel.
Over the last several years we’ve had a lot of trial, error and frustration with Adobe Lightroom Presets. We spent a lot of money in the beginning of our journey purchasing other people’s photography presets thinking that would be the answer to making our photos look the way we envisioned but we were always VERY disappointed with the outcomes. So we decided that to truly get what we wanted we had to dedicate time to learning and exploring this software and creating our own.
As we became more and more confident with Lightroom and explored the endless possibilities it offers we began to have lots of fun playing and learning through the process. Through learning we began enjoying the creative process rather than feeling frustrated and now over two years on, we’ve reached a point in both our photography and editing where we’ve finally found the style and aesthetic we always envisioned and are really excited and passionate about the work we’ve been producing for ourselves and our clients.
We exclusively use all of these presets on our own photography for Instagram, Pinterest, our website and for all client services and we created them to be a reflection of our brand identity and values.
The creative process is never ending and as artists we are constantly growing and adapting our styles but what we really wanted from our presets is something that gives photographs a truly natural feel without looking too overworked. Something that feels timeless as apposed to a style that is just very much of the moment.
We wanted to make our photo editing tools available for you so that you don’t have to deal with the endless frustration of bad presets and wasted money and are sure that our preset pack will provide a great base for your editing journey so that you can create the style you envision as well. Most importantly, we hope they help to inspire your photography and save you time in the creative process while also bringing your precious moments to life.
Our Photography Equipment
Camera
We use a Nikon D5600 which is a solid upper entry-level DSLR that has impressive image quality and is great for expanding your skills. We’ve had this for just over two years now and it’s travelled with us all over Asia. It’s been a really convenient travel camera as the body is relatively small and light. We’ve used this for anything from landscapes to portraits, and everything in between and it’s never let us down! If your looking for a DSLR to start your photography journey then this Nikon is a great option.
It also comes with an 18-55mm f/3.5 kit lens which is a good starting block to get you going before you upgrade your glass. We usually kept ours at 35mm so we could get the desired look we wanted.
The lens we use most of all is our 24-70mm f/2.8 zoom lens. For us this is the lens of all lenses as it works amazingly in every situation you can imagine and the zoom allows you to get the shots you desire but without getting right up and personal into someones space.
The lenses we currently have on our radar is a 35mm f/1.4 fixed wide-angle lens. This little beauty is great for people, animals, groups, landscapes, nature, architecture and more. And with that f/1.4 you’ll get the most buttery bokeh backgrounds ever! Lastly, we’re looking to get a 70-200m f/2.8 as the versatile working range covers everything.
Our Camera Gear
Tamron 24-70mm f/2.8 zoom lens
Nikkor 70-200mm f/2.8 zoom lens
Tripod
If we want to take photos together as a couple we always use a tripod. This has been such a great tool for us to get nice photos together throughout our travels. We realised after a 6 month trip through South America that we had no photos together other than the occasional cut-off phone selfie! We were quite shy and nervous setting it up at first but you soon realise that no one cares. We recommend spending no more than £30 on a tripod as the quality for this level will be perfect. Our tripod buddy has been all over with us (from in the sea to up a mountain) and it gets bashed up quite a lot so we don’t actually want an expensive one. Our only recommendations are to get one that is light and becomes very compact so you can easily slot it in/on your bag and carry it around for a day. Our first tripod was heavy, clunky and a pain in the ass to carry so when TSA took it off us at Vietnam airport we were actually quite relieved haha. NOTE: From 2019 tripods need to go into your checked luggage and can no longer come on in carry-on bags.
Camera Bag
We use the WANDRD PRVKE 21 Litre backpack. We’ve had this backpack for a little over two years and we’re still raving about it. It really is the best bag we’ve ever owned and not only did it meet all of our requirements but it excelled them. The quality of this bag is on another level and still looks brand new! This thing has travelled all over the world with us. We’ve taken it to beaches, up mountains, into jungles, on rivers, to waterfalls, through rice paddies, in cities- you name it and it’s been there. It’s been covered in salt, sand, suncream and sweat. It’s been in extreme heat, unbearable humidity, ice and snow, through torrential downpours and it’s withheld everything that’s been thrown at it and still it looks perfect while protecting all our precious gear! It easily fits all our camera equipment and has a little left over space for some other travel essentials too. You can read more about this awesome photography travel bag in our WANDRD Review.
Our Camera Bag

Shooting Tips
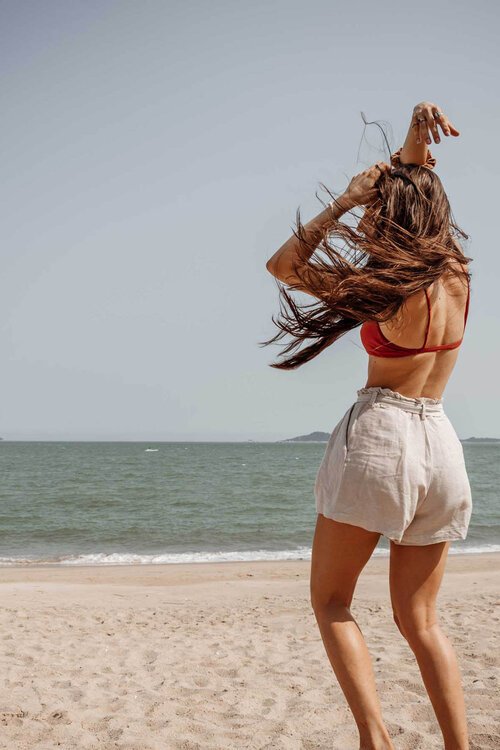
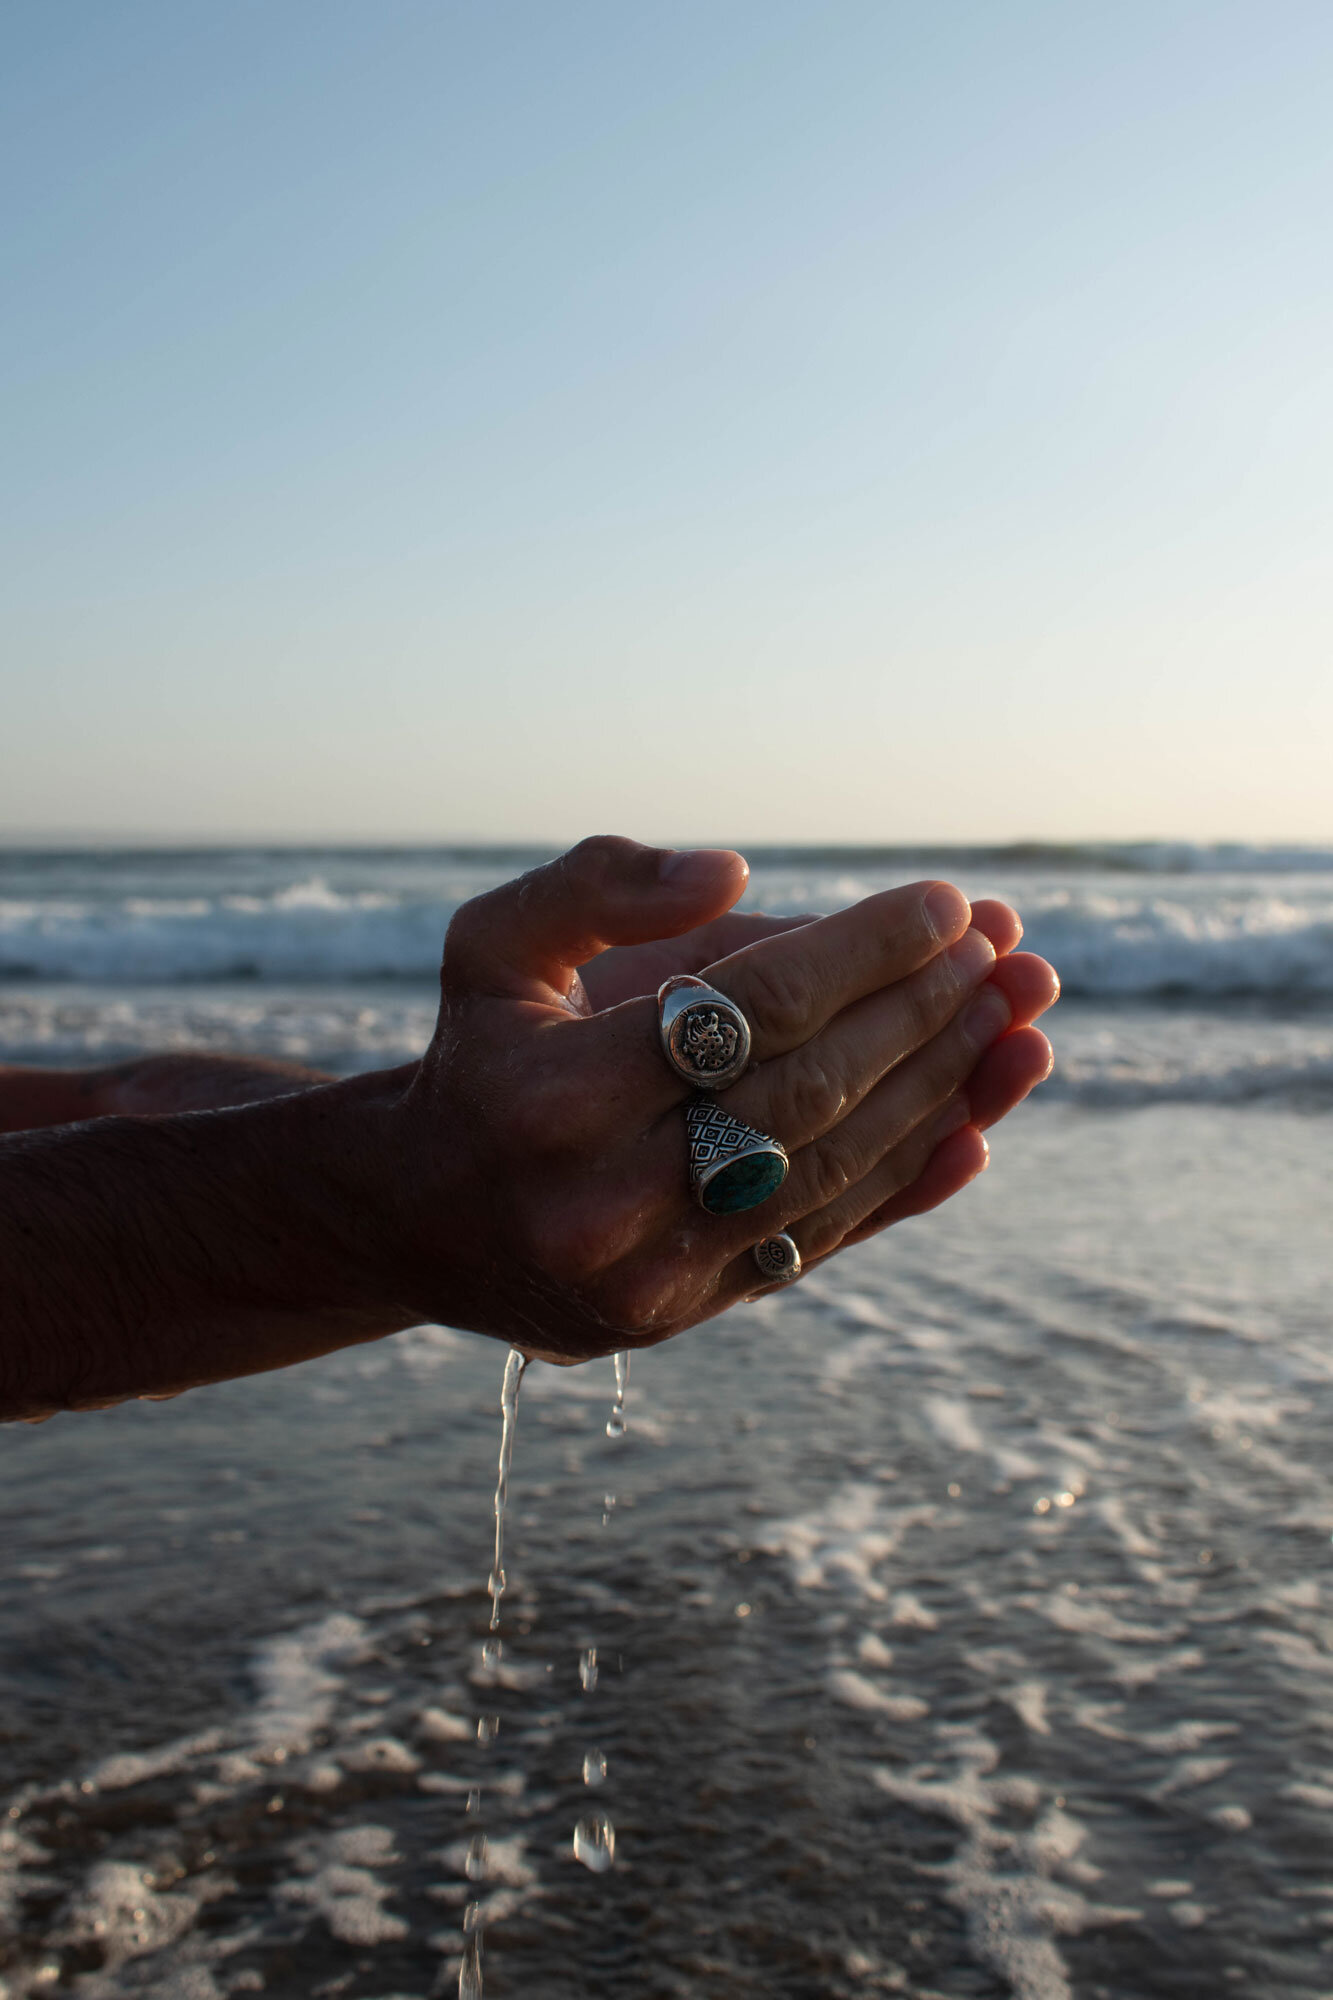
For us it’s all about that natural light and using it to our advantage as much as possible. If there’s anything specific we need to shoot then we’ll usually take advantage of golden hour to get that warm, syrupy glow. We also like to shoot on cloudy days when the sky is like a sheet as this can give a great backdrop and a lovely soft, natural finish to our shots.
Sometimes we have specific locations in mind when visiting a new area or country. We’ll usually research the best times to visit so that we get what we’re looking for with less people around. If we want a couple shot, this is when we’ll set up our trusty tripod and camera timer to shoot every 2 seconds. We play around with poses and just try to make each other laugh as much as possible so we can capture a good vibes moment. Taking multiple shots can also help with post processing.
For our travel photography we love to just explore and see what happens when we’re out and about but we’re always on the look out for warm colours from the surroundings as well as empty/white space to include in our shots. Usually, this is when we’ll take candid, in-the-moment shots with a lot of movement to them.
We tend to be at the beach a lot so it can be quite difficult to shoot during the day whilst the sun is at its strongest as the light can be very harsh and unflattering. We love to experiment with props to see what we can do to add some shade from perhaps a tree or a hat to soften the photo.
As photographers we’re always on the hunt for coloured walls, interesting street corners, magical buildings or little slices of nature that we can capture. Sometimes the outcome works and sometimes it doesn’t but that’s all part of the creative process. We’ve had a lot of failed photos over the years but they are the ones that have helped us improve and grow. Having fun with it and never stop experimenting is key!
Our Editing Process
All of our images are edited with the Two Wander Presets - The Natural Collection.
We like to batch edit our photos on Lightroom Desktop, and then make little tweaks to each image if need be. Usually this starts with finding a preset that works over a whole series of photos first and then we can play with minor adjustments afterwards. If we have a lot of photos then it can be a very long process and it’s very easy to become obsessive. We read somewhere that if it takes more than 10 minutes to edit a single photo then it’s a bad photo so we try and live by this rule. It’s actually been one of the best photography tips we’ve ever heard as sometimes half a day used to go by and we’d still be trying to edit one photo for Instagram haha! Now we spend no more than 15 minutes per edit except if we’re doing something a bit special that requires longer.

For all of our Blog content, client work and Instagram feed we edit RAW images on Lightroom Desktop as the result is far superior to anything you get from a JPEG. If you’re still shooting in JPEG then switch to RAW and be prepared to be amazed! Sometimes we may have a mobile photo we really like that we’ll include in our IG feed but usually we keep them for our IG Stories after editing with our presets on the free Lightroom Mobile App.
Although all nine of our presets work in any occasion we designed each one with a different scenario in mind. Our favourites that we use most often are 01 SUEDE, 02 LINEN and 03 SEPIA as we love their warm tones and orange hues. Next on our list is 05 BLUSH if we’re looking for a little pinkish tone to add to our images. These 4 presets are the main ones we use for all our blog posts and specifically when we’re batch editing a series. We use 04 COTTON for a higher contrast finish which really makes the light pop! This can be great for golden hour shots or direct sunlight. Whenever we’re out on an adventure somewhere in nature we love to use 07 WILD and for those sunrise and sunset shots we regularly add 08 DUSK. We designed 06 TANGERINE with product photography in mind as it provides crisp whites, defined edges and make the colours pop, and lastly 09 NOIR was created for our love of black and white photography. We love to use this one to get some really stylistic images.
Heard Enough?
Below are before and after images for all nine of The Natural Collection - Two Wander Presets.
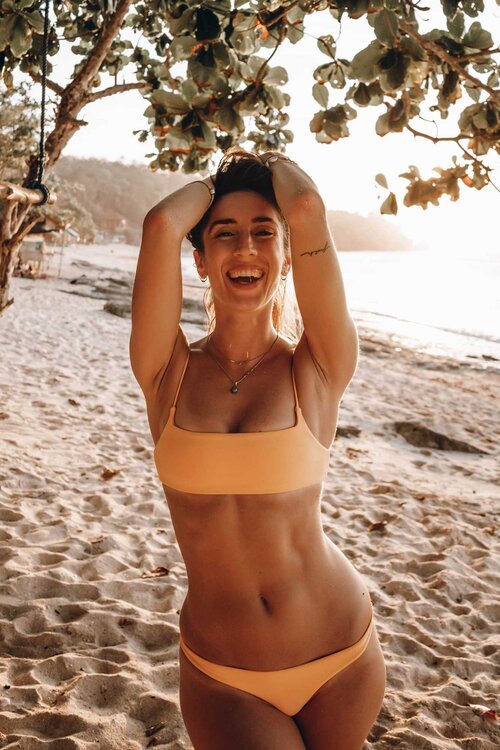
01 SUEDE
Suede brings lots of warmth, with natural tones and a soft glow but without compromising pops of colour and vibrancy. It’s a perfect bright, sunny style with a diverse range that’s designed to invite you in, warm you up and give you a hug from the inside out.
BEFORE
AFTER
02 LINEN
Linen is a preset that merges the warm with the cool. While the warmth of the reds and oranges remain, it also brings out the blue and green tones which align to create a cool, smooth and soft finish, much like the feeling of linen.
BEFORE

AFTER

03 SEPIA
Sepia was designed to bring all the lovely nostalgic vintage vibes out but still with a focus on colour which gives this old classic a modern twist. Now, in one click, you can give all your photos a professional yet candid feel!
BEFORE

AFTER

04 COTTON
Cotton is a bright style with a slightly higher contrast between highlights and shadows, and an emphasis on making those whites pop! It’s perfect for direct light or that golden glow just before sunset. It can also add a slightly moodier vibe whilst still having a calming effect and keeping the image soft and syrupy.
BEFORE
AFTER

05 BLUSH
Blush is a Two Wander preset that works in almost all scenarios. This is the all rounder that keeps the whites crisp and the edges defined without looking too harsh or sharp, and brings out the natural colour and beauty of any scene, landscape or portrait. This preset has a bit more of a pink tone to it, with slightly brighter highlights that can freshen up any photo.
BEFORE

AFTER

06 TANGERINE
Tangerine is a preset specifically designed with product shots in mind. It keeps edges crisp and defined without looking too harsh or sharp, and brings out the natural colour of featured objects to give them an eye catching pop and a professional finish. Perfect for your Insta food shots!
BEFORE

AFTER
07 WILD
Wild embraces your off-the-beaten-path adventurous side. Whether you’re chasing waterfalls, climbing trees, or running barefoot through sunflower fields, this new preset channels the spirit of adventure and captures your inner wildling.
BEFORE

AFTER
08 DUSK
Dusk invites lots of warmth with dusty orange and pink hues that are perfect after a long salty, sun-kissed day at the beach. We love the yummy vibes this preset evokes and it’s a perfect accompaniment for those magical moments when day becomes night.
BEFORE
AFTER

09 NOIR
Noir is for the lovers of black and white photography. It has crisp whites and deep blacks that create an all round defined finish without looking too sharp. We love that you can apply it to any scenario and never looks out of place, adding a touch of sophistication and mystery to any capture.
BEFORE

AFTER

So that’s our Lightroom Presets and photography process guide. We hope this post has been helpful and provided you with some useful tips! If you have any questions about our desktop Lightroom presets, mobile Lightroom presets, or editing process please feel free to get in touch via email or drop a comment at the bottom of this post.